Parents ask me all the time: “What should my kid be doing at home between sessions?” It’s the right question. The players who improve fastest aren’t the ones with the most expensive gear or the biggest backyard — they’re the ones who touch the ball consistently between coaching sessions, even if it’s just 20 minutes against a wall.
I’ve been coaching youth players in Columbus for years, and I’ll be honest — most home soccer training advice online is boring, generic, and doesn’t meet the player where they’re at. This guide is different. It’s built around the same principles I use in my actual sessions: progressive difficulty, training across multiple modalities, and drills that are creative enough that your kid will actually want to do them.
Key Points
| Session length | 20-25 minutes is the sweet spot — quality over quantity, every time |
| Warm-up | Active stretching only (FIFA 11+ protocol) — save passive stretching for after |
| The modalities approach | Vary: moving vs stationary, ball in air vs ground, 1-leg vs 2-leg, different surfaces |
| Progression | Start simple, add speed/pressure/complexity as skills lock in — don’t skip levels |
| Frequency | 3+ short sessions per week beats 1 long one — consistency builds muscle memory |
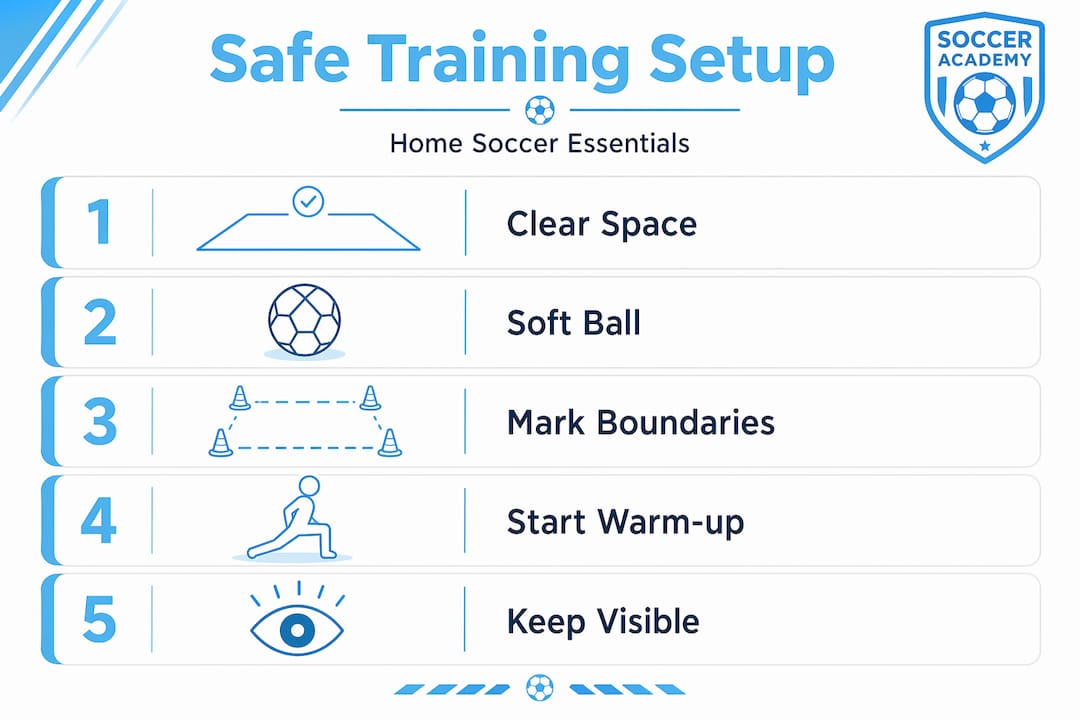
What You Actually Need (It’s Less Than You Think)
You don’t need a full pitch. A wall, a ball, and 10 yards of space covers 90% of what matters for technical development. Here’s the realistic setup:
| Item | Outdoor | Indoor Alternative |
|---|---|---|
| Soccer ball | Size 3 or 4 match ball | Foam or low-bounce ball |
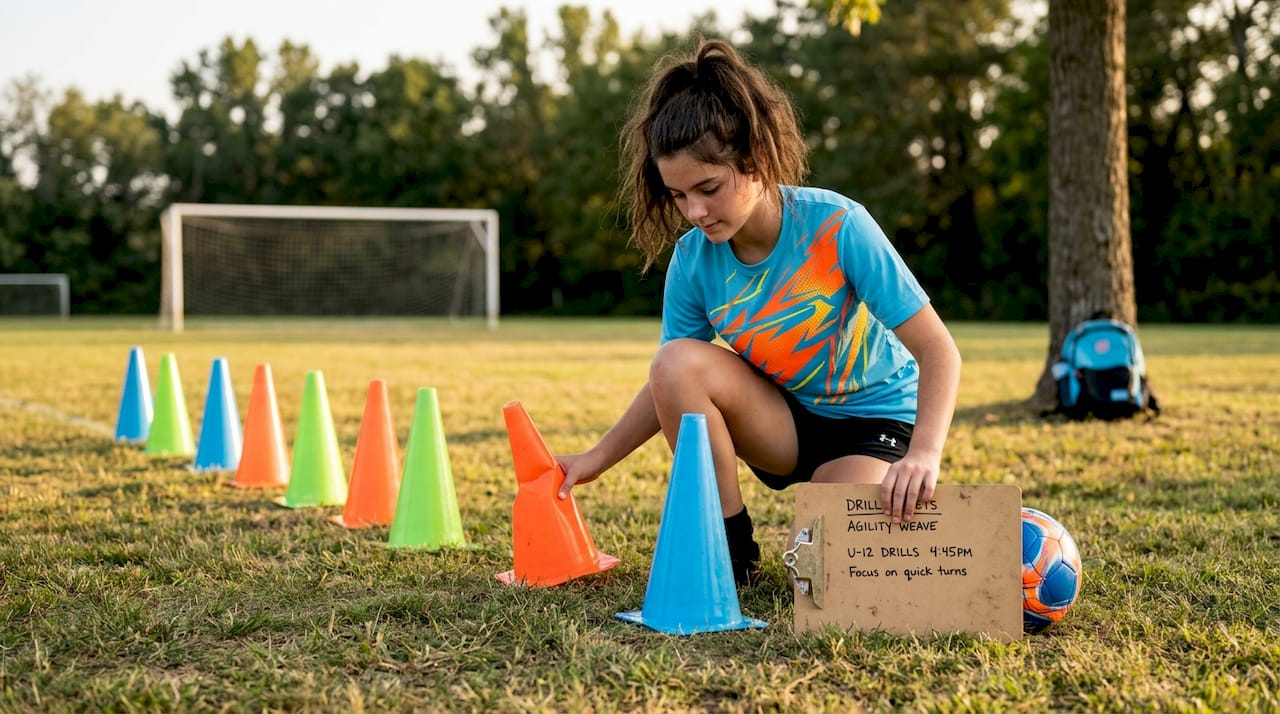
| Cones/markers | Plastic cones | Cups, tape strips, shoes — anything works |
| Wall or rebounder | Any flat wall, garage door | Rebounder net if you have one |
| Timer | Phone stopwatch | Same |
A rebounder is a great investment if your kid gets serious, but a wall is free and honestly just as effective for passing and first touch work. I’ve run entire training progressions using nothing but a wall, a line on the ground, and a single cone.
The Warm-Up: Why We Had It Backwards in American Youth Soccer
I’ve been doing active warm-ups with my players for years — long before it became the standard. For decades, American youth coaching had kids sitting on the ground doing static hamstring stretches before training. We had it completely backwards.
Passive stretching — sit and hold for 30 seconds — is great for cooling down after a session. But before training? It actually reduces power output and does nothing to prevent injuries. What you want before any soccer activity is active stretching: movements that raise your body temperature, activate the muscles you’re about to use, and prepare your nervous system for quick reactions.
The FIFA 11+ program finally made this official, and I’m glad they did. It’s a research-backed warm-up protocol designed specifically for soccer, and it’s what I use with my clients. Here’s a simplified version your kid can do at home in 5 minutes:
- High knees and butt kicks — 30 seconds each, getting the heart rate up
- Hip circles and lateral shuffles — opening up the hips for change of direction
- Single-leg balance — 15 seconds each leg, eyes open (progress to eyes closed)
- Bodyweight squats and lateral lunges — activating the quads, glutes, and adductors
- Light ball work — toe taps, sole rolls, inside-outside touches while moving
Save the sit-and-stretch routine for after the session. Before training, everything should be moving.
The Soccercademy Modalities Framework: How I Train Players Differently
Here’s something I developed through years of coaching that I call the Soccercademy Modalities Framework. Most training guides give you a list of drills. I train players across different modalities — and it’s the reason my players improve faster than kids just doing random YouTube exercises.
What does that mean? Every touch on the ball happens in a specific context, and you need to practice across all of them:
| Modality | Variations | Why It Matters |
|---|---|---|
| Player movement | Stationary vs. moving | Receiving a ball while standing still is completely different from receiving at pace |
| Ball delivery | Ground vs. air (bouncing, driven, lofted) | A ground pass requires different technique than a ball dropping from the sky |
| Balance base | Two legs vs. one leg | In a game, you’re almost always on one foot when you make contact |
| Body orientation | Facing play vs. back to play vs. sideways | A midfielder receiving with their back to goal needs different skills than a winger facing forward |
| Foot surface | Inside, outside, sole, laces, instep | Each surface has a purpose — limiting yourself to one is limiting your game |
When your kid practices wall passes, don’t just do 50 reps with their right foot standing still. Have them do 10 standing, 10 moving, 10 on one leg, 10 with the ball bouncing first, 10 receiving and turning. Same wall, same ball, completely different training stimulus. That’s how you build a player who can handle anything in a match.
Pavel’s Ball Mastery System: Why Random Drills Don’t Work
One of the biggest mistakes parents make with home training is picking random drills off the internet with no sense of progression. Your kid does the same 5 moves for months, gets bored, and quits. Or worse, they try moves way above their level, get frustrated, and decide they’re “not good enough.”
I built a complete ball mastery system that progresses players through 7 difficulty levels — each one building on the last. It starts with foundation touches (sole rolls, toe taps, basic rhythm patterns) and works up through combination moves, directional changes, and eventually full-speed game moves with defensive pressure.
The key principle: don’t skip levels. I see kids trying elasticos who can’t do a clean sole roll. Every level locks in the coordination and confidence the next level requires. When a player moves up because they’ve actually earned it, the new skills stick — they don’t just look good in the backyard, they show up on game day.
For home training, here’s what you can start with from Level 1:
- Toe taps — alternating feet on top of the ball, building rhythm and comfort
- Sole rolls — rolling the ball side to side and forward/back, developing feel
- Inside-outside touches — moving the ball laterally with alternating surfaces
Once those are smooth at speed, there’s a structured path forward through all 7 levels. That’s what my players work through in sessions — and it’s the difference between random practice and actual development.
Structuring a 20-Minute Home Session
Here’s exactly how I’d structure a home training session. This mirrors what I do in real coaching — just scaled for solo work:
| Phase | Time | What to Do |
|---|---|---|
| Active warm-up | 5 min | FIFA 11+ adapted: high knees, hip circles, balance work, light ball touches |
| Technical focus | 10-12 min | Pick ONE skill category. Work through modalities: stationary then moving, ground then air, right foot then left |
| Applied challenge | 5-8 min | Combine what you drilled into a game-like sequence: dribble, wall pass, finish |
One skill focus per session. That’s deliberate. If you try to cram dribbling, passing, and shooting into 20 minutes, you’re not training anything — you’re just touching the ball. Focused repetition within a single skill domain is what builds muscle memory.
Rotate across the week: ball mastery Monday, wall passing and first touch Wednesday, 1v1 moves and turning Friday. Three sessions, three different skill categories, consistent progress.
What Most Home Training Advice Gets Wrong
The internet is full of “do these 10 drills” lists with no context, no progression, and no understanding of how kids actually learn. Here’s what I see go wrong most often:
- Repetition without progression. Doing the same drill 100 times at the same speed doesn’t build skill — it builds boredom. You need to increase difficulty: add speed, change the surface, switch feet, add movement. That’s the modalities approach.
- Sessions that are too long. A focused 20-minute session will always beat a sloppy 45-minute one. Kids lose concentration, form breaks down, and bad habits creep in. Keep it tight.
- No structure across the week. Randomly picking drills each day means you’re never building on yesterday’s work. Plan your week: different skill category each session, same progression within each category.
- Parents over-coaching. I get it — you want to help. But if you’re stopping your kid every 10 seconds to correct them, you’re killing their flow and their confidence. Set up the drill, let them work, and save feedback for natural pauses. One correction per drill is plenty.
Frequently Asked Questions
What’s the single best drill for a kid training at home?
Wall passing. Seriously. A ball, a wall, and 10 minutes of focused passing and receiving will develop first touch, weight of pass, and body positioning faster than anything else. Vary the modalities — standing still, moving, one foot, receiving and turning — and you’ve got a complete training session from one drill.
How often should my kid train at home?
Three sessions per week of 20 to 25 minutes each. That’s enough to build real momentum without burning out. Consistency matters more than volume — three short sessions beats one marathon every time.
My kid gets bored after 5 minutes. What am I doing wrong?
The drill is probably too easy or too hard. If it’s too easy, they check out. If it’s too hard, they get frustrated. Find the sweet spot where they succeed about 70% of the time and have to work for the other 30%. And always end with something fun — a shooting challenge, a juggling record attempt, a 1v1 against you.
Should I be coaching my kid during home sessions?
Less than you think. Set up the drill, demonstrate once, and let them work. Kids learn through trial and error, not constant correction. If you’re giving more than one piece of feedback per drill, you’re giving too much.
Do I need a rebounder?
It’s helpful but not necessary. A solid wall does the same job for passing and first touch. If you do get a rebounder, it opens up more angles and unpredictable bounces, which is great for reaction training. But don’t let “I don’t have the right equipment” stop you from starting.
Want the Full System?
Home training gets your kid touching the ball. Coaching with Soccercademy gives them the full progression — all 7 levels of ball mastery, the modalities framework applied to their specific game, and a trained eye catching the details a YouTube video never will.
Gear I recommend for this: grab cones, a rebounder and mini-goals from the Soccercademy store. (As an Amazon Associate, Soccercademy earns from qualifying purchases.)